Posts tagged golf
Bandon Dunes - 5 Things to Know Before You Go

I have been meaning to write this blog for MONTHS and finally am getting around to it. Back in May, Lauren and I traveled to a remote coastal Oregon region to play a handful of the most famous golf courses in the country, if not the world. It was an incredible experience and something that I would recommend to EVERY avid golfer I know. Here are some of my recommendations to make this trip epic!

1. Plan Ahead

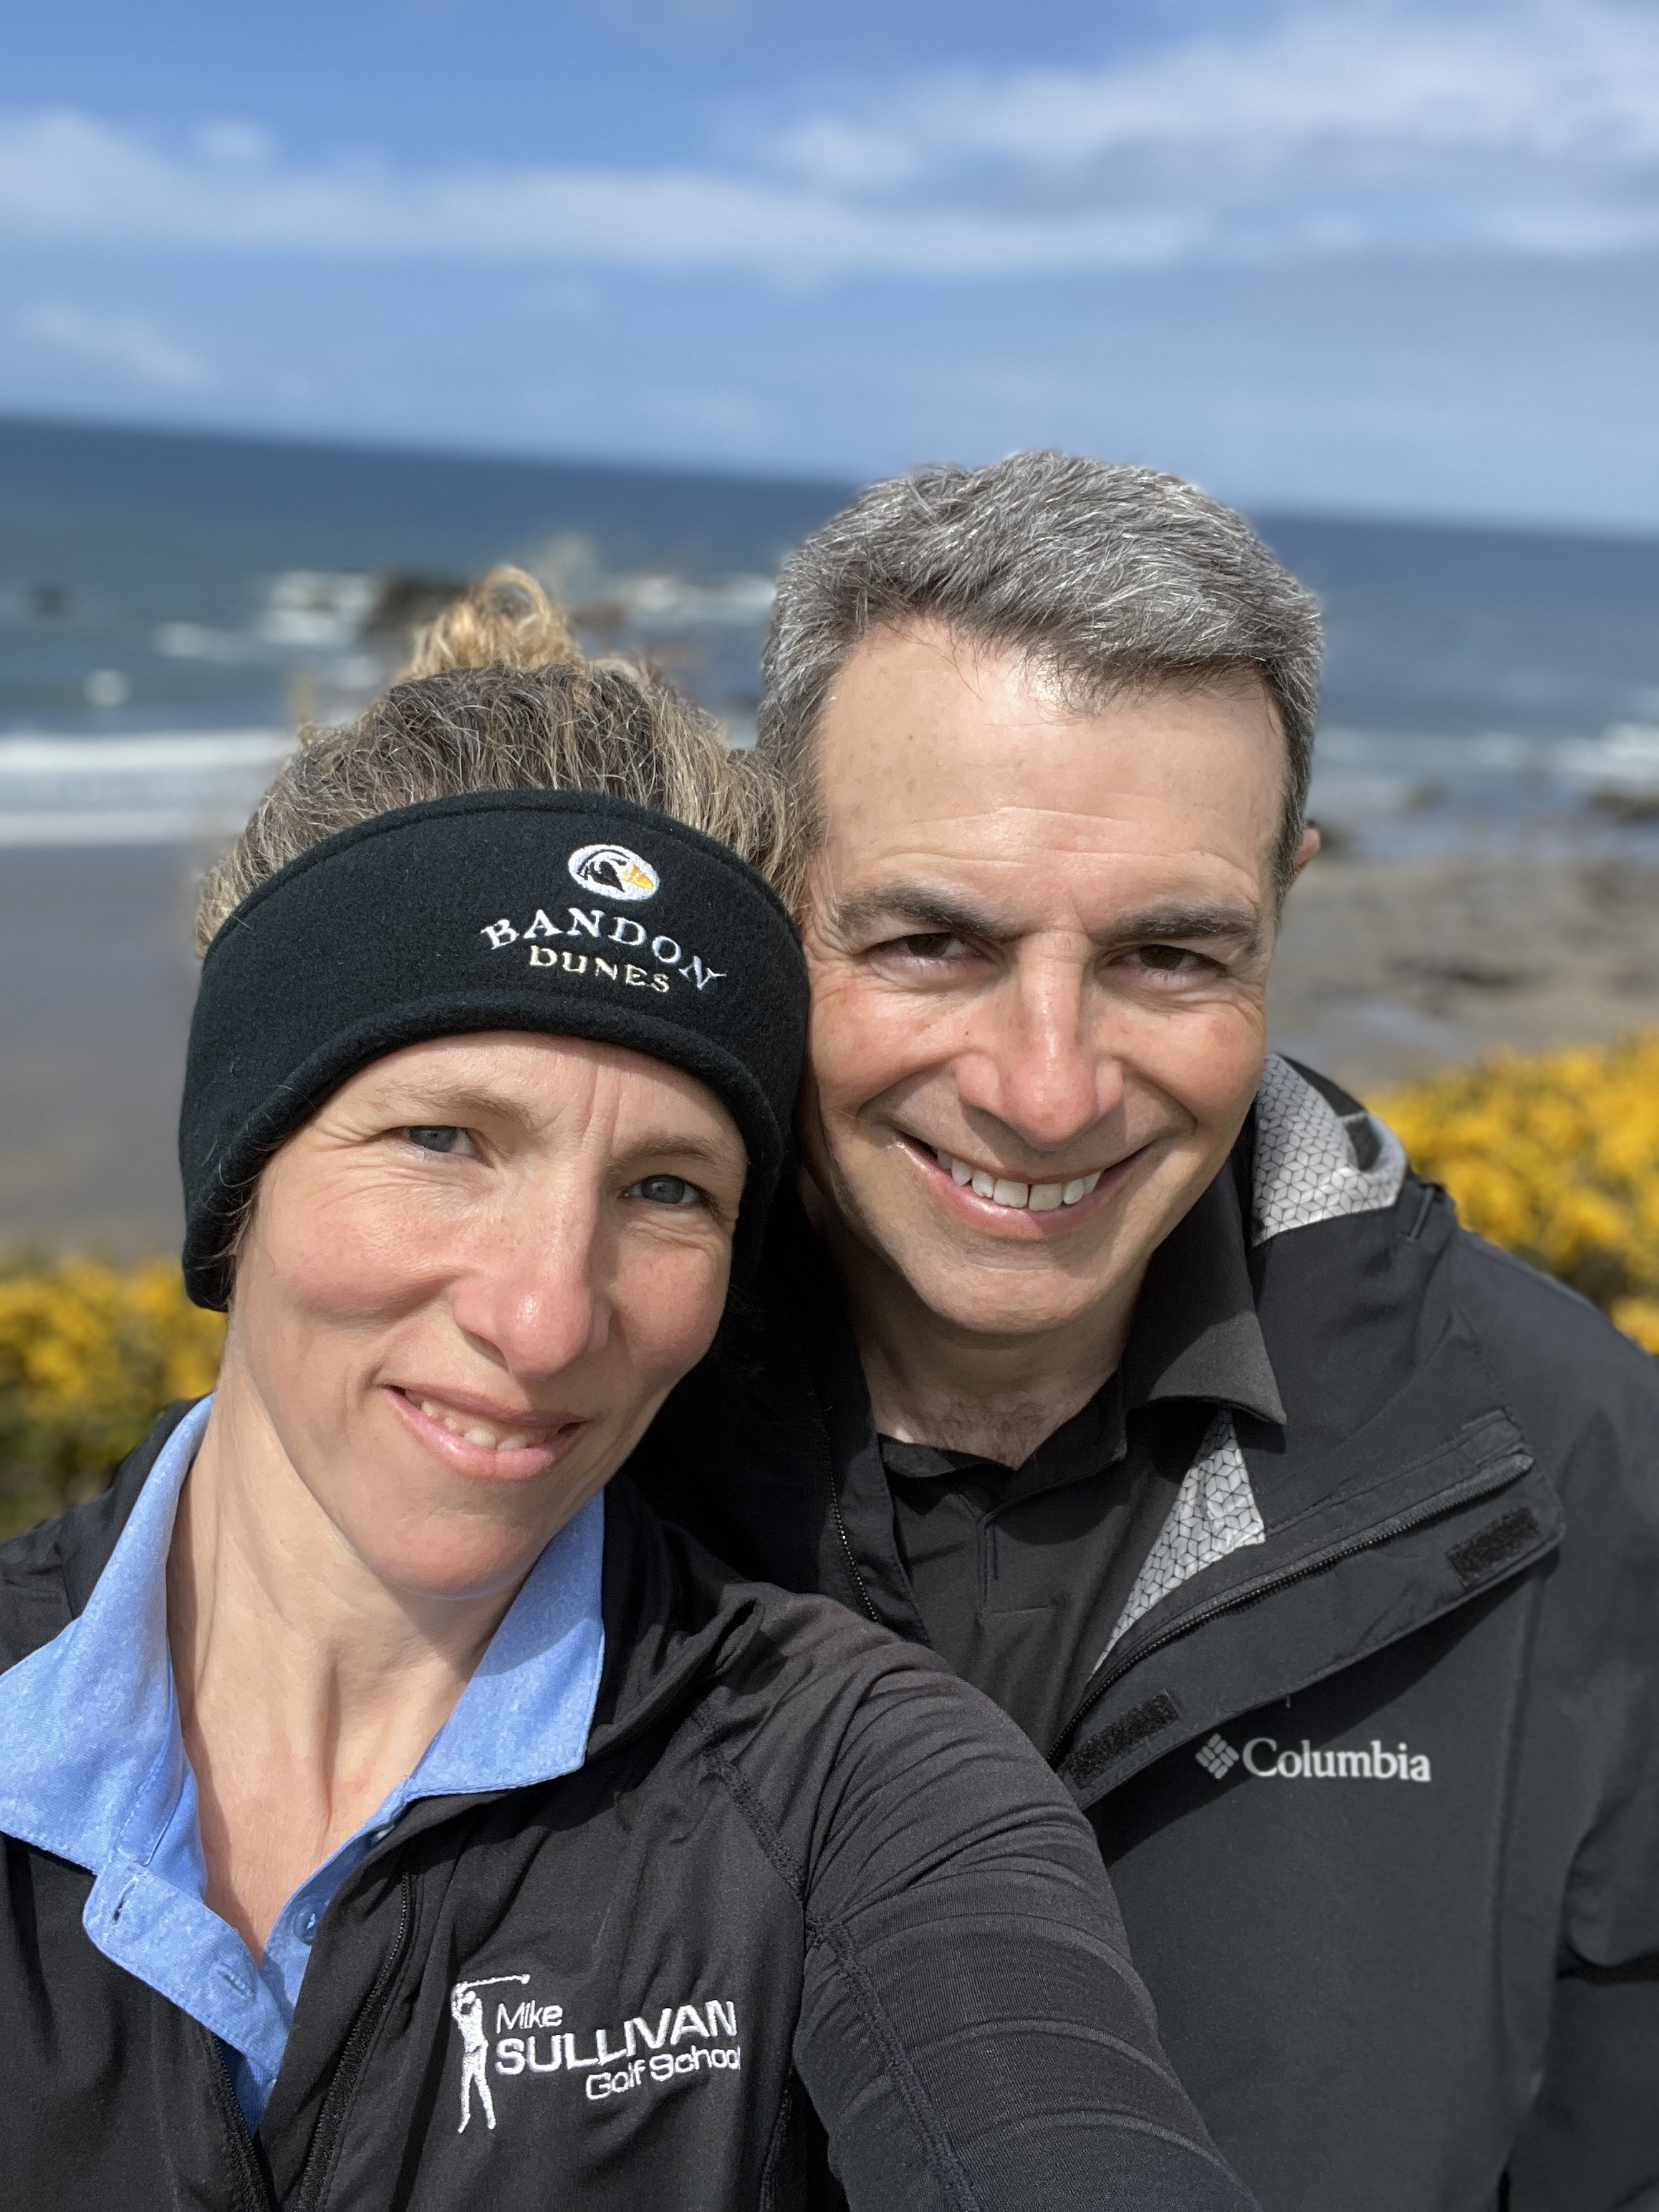
The Pacific Coast is something to breathe in and appreciate

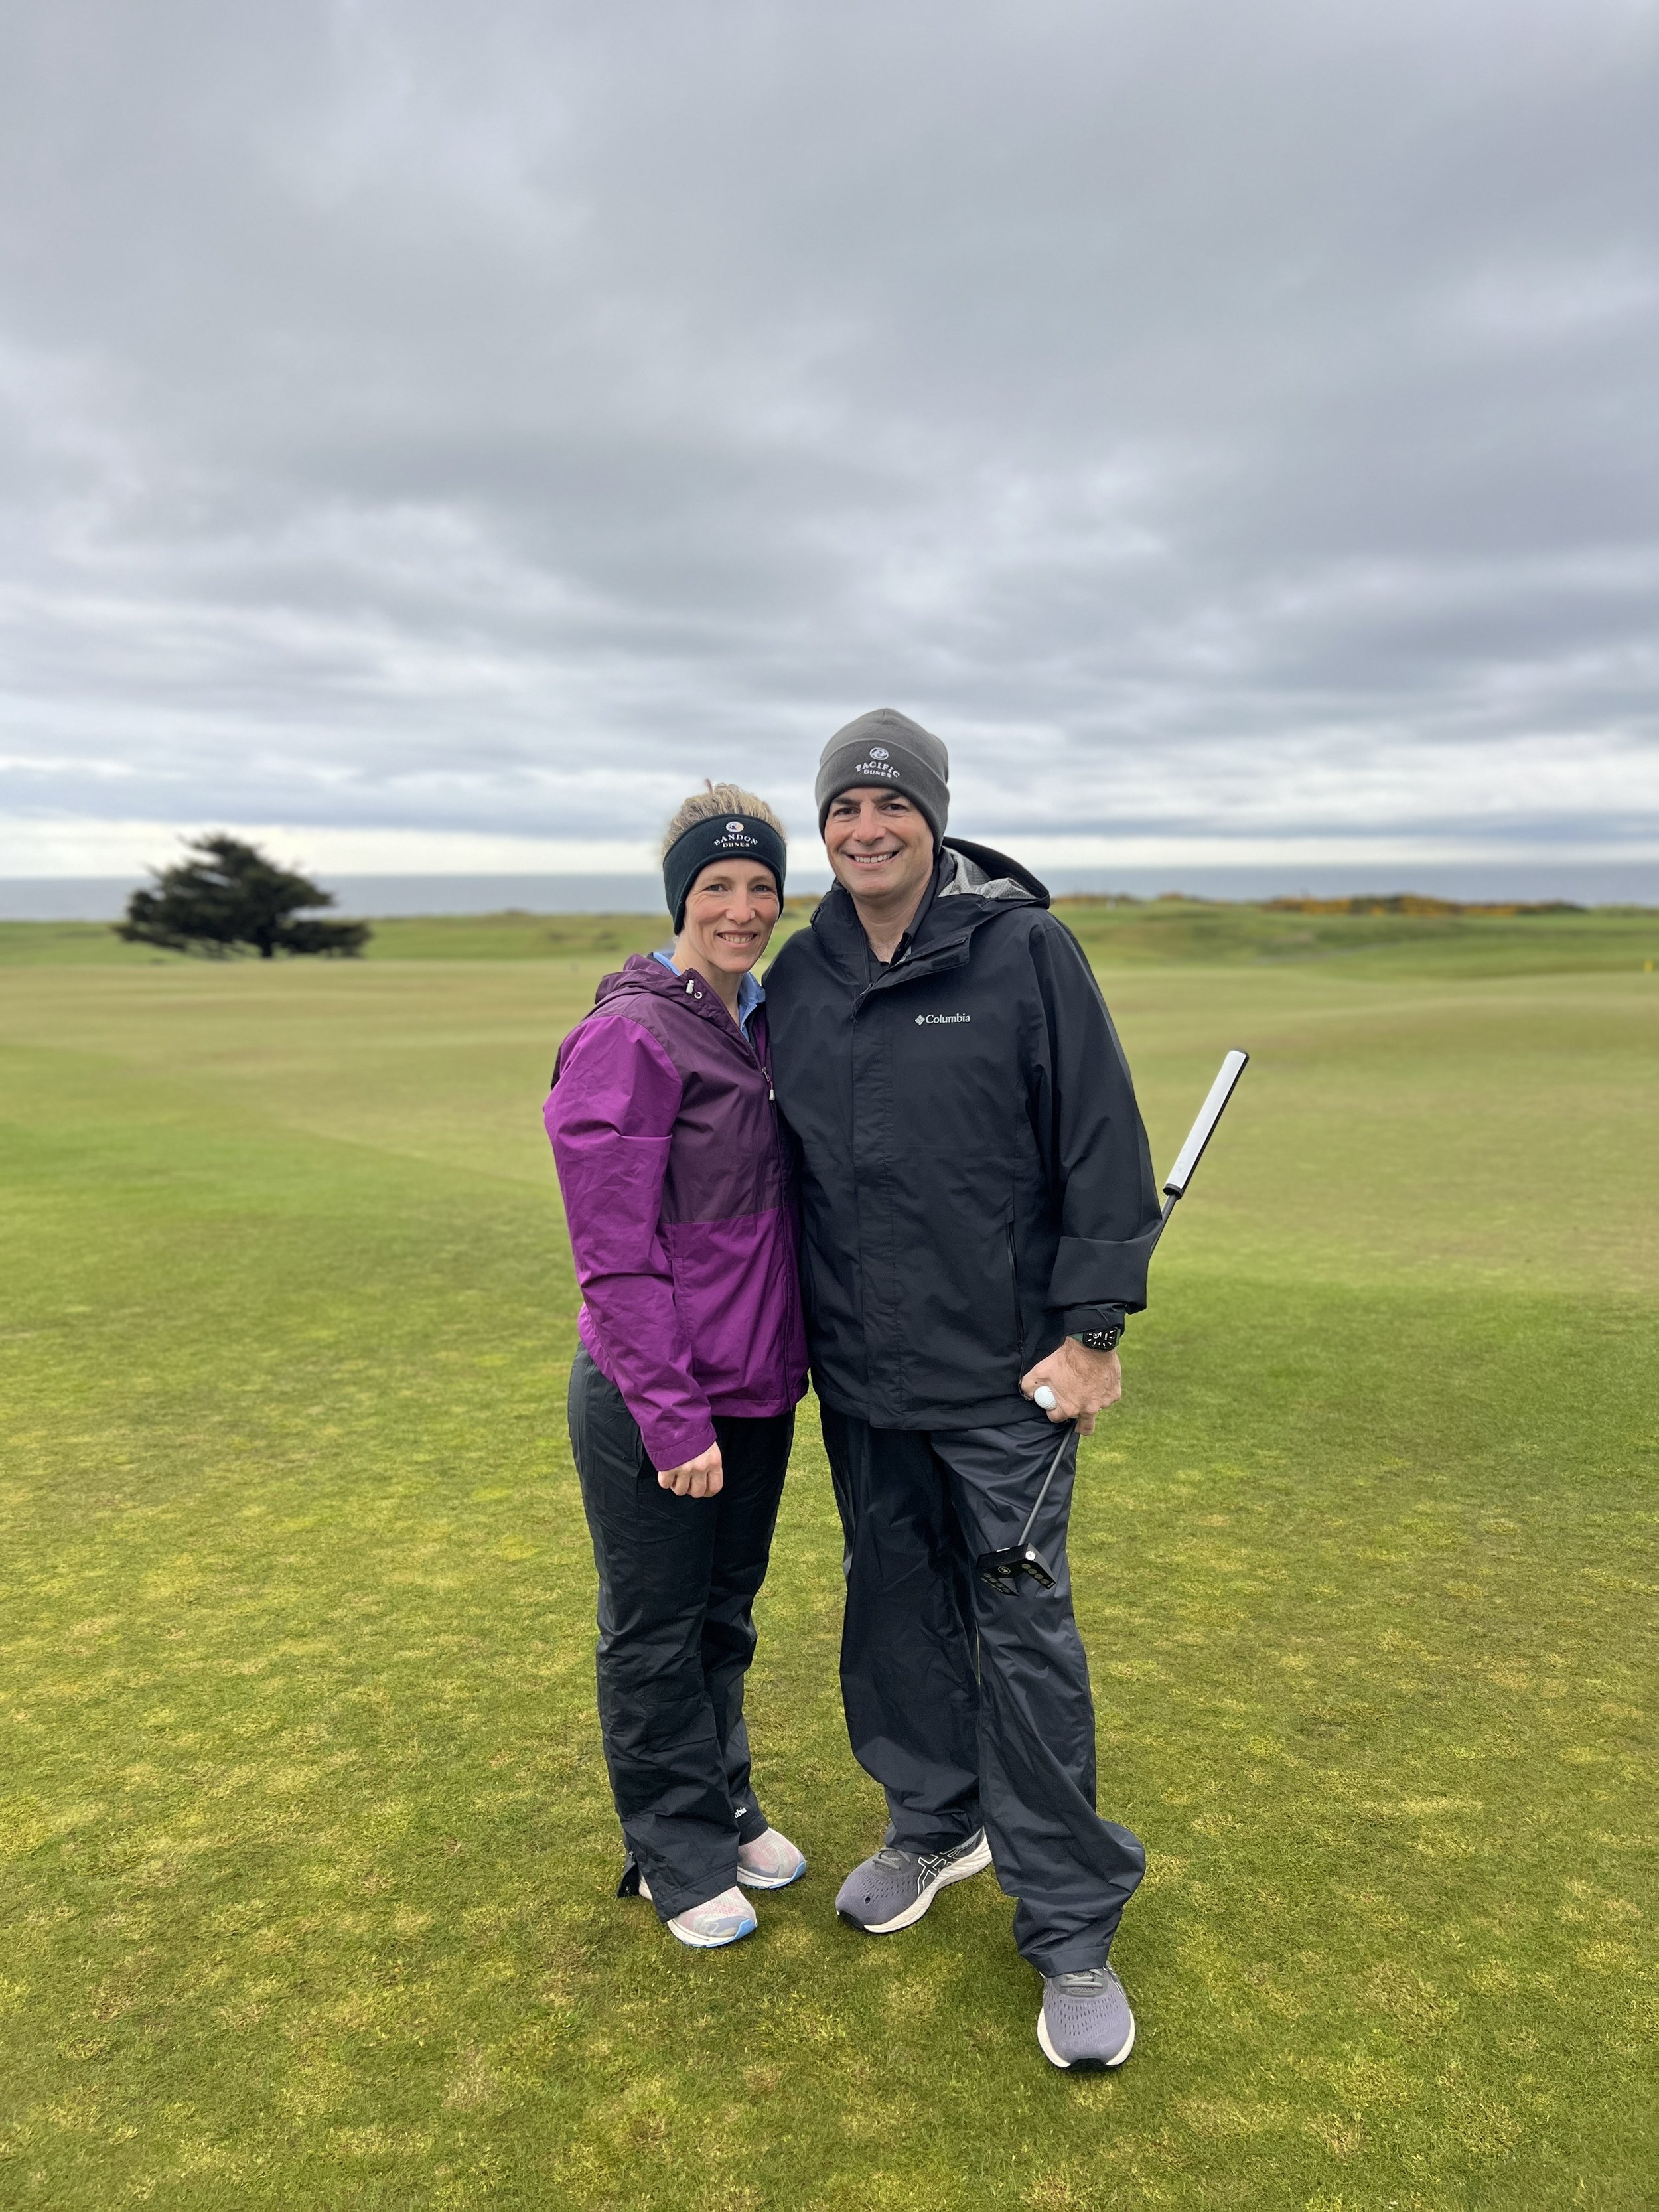
I can’t emphasize this enough. You need to plan this trip ahead of schedule especially if you plan to stay in the lodge (which I highly recommend). The lodge is comfortable, clean, has a great restaurant and a beautiful view of the 18th green with the Pacific Ocean in the background. This trip is doable last minute if you want to stay off site at an AirBnb but I would definitely plan to spend at least a couple nights in the lodge. Try to book your rounds at the same time you book your lodging to get the best tee times. Also, be prepared for a lot of different weather possibilities. We stopped off at the outlets on our way down to Bandon to pick up some good rain gear. We only needed it the first day but it was definitely a good thing to have. Even in May, the weather was cold, sometimes rainy, and overcast. The wind is always an issue so can make cooler temperatures feel even colder. Don’t obsess over the weather, just prepare for it.

2. Fly into Portland and Rent a car

We flew into Portland with a stopover in Denver and rented a car at the Portland Airport. We arrived late on a Friday night so got one night at a hotel near the airport and picked up our car in the morning. From there we headed west toward the coast and started our drive down the coast at Cannon Beach. If you have time, I have heard it’s worth a trip up to Astoria which is just north. We had breakfast in Cannon Beach and then headed for a leisurely drive down the Oregon Coast. What a beautiful place to explore. We gave ourselves some time and stopped at a hotel on the way. This particular hotel was dingy and dated and around the same price as the Lodge at Bandon Dunes. So my recommendation would be to continue down the coast and stay at Bandon.

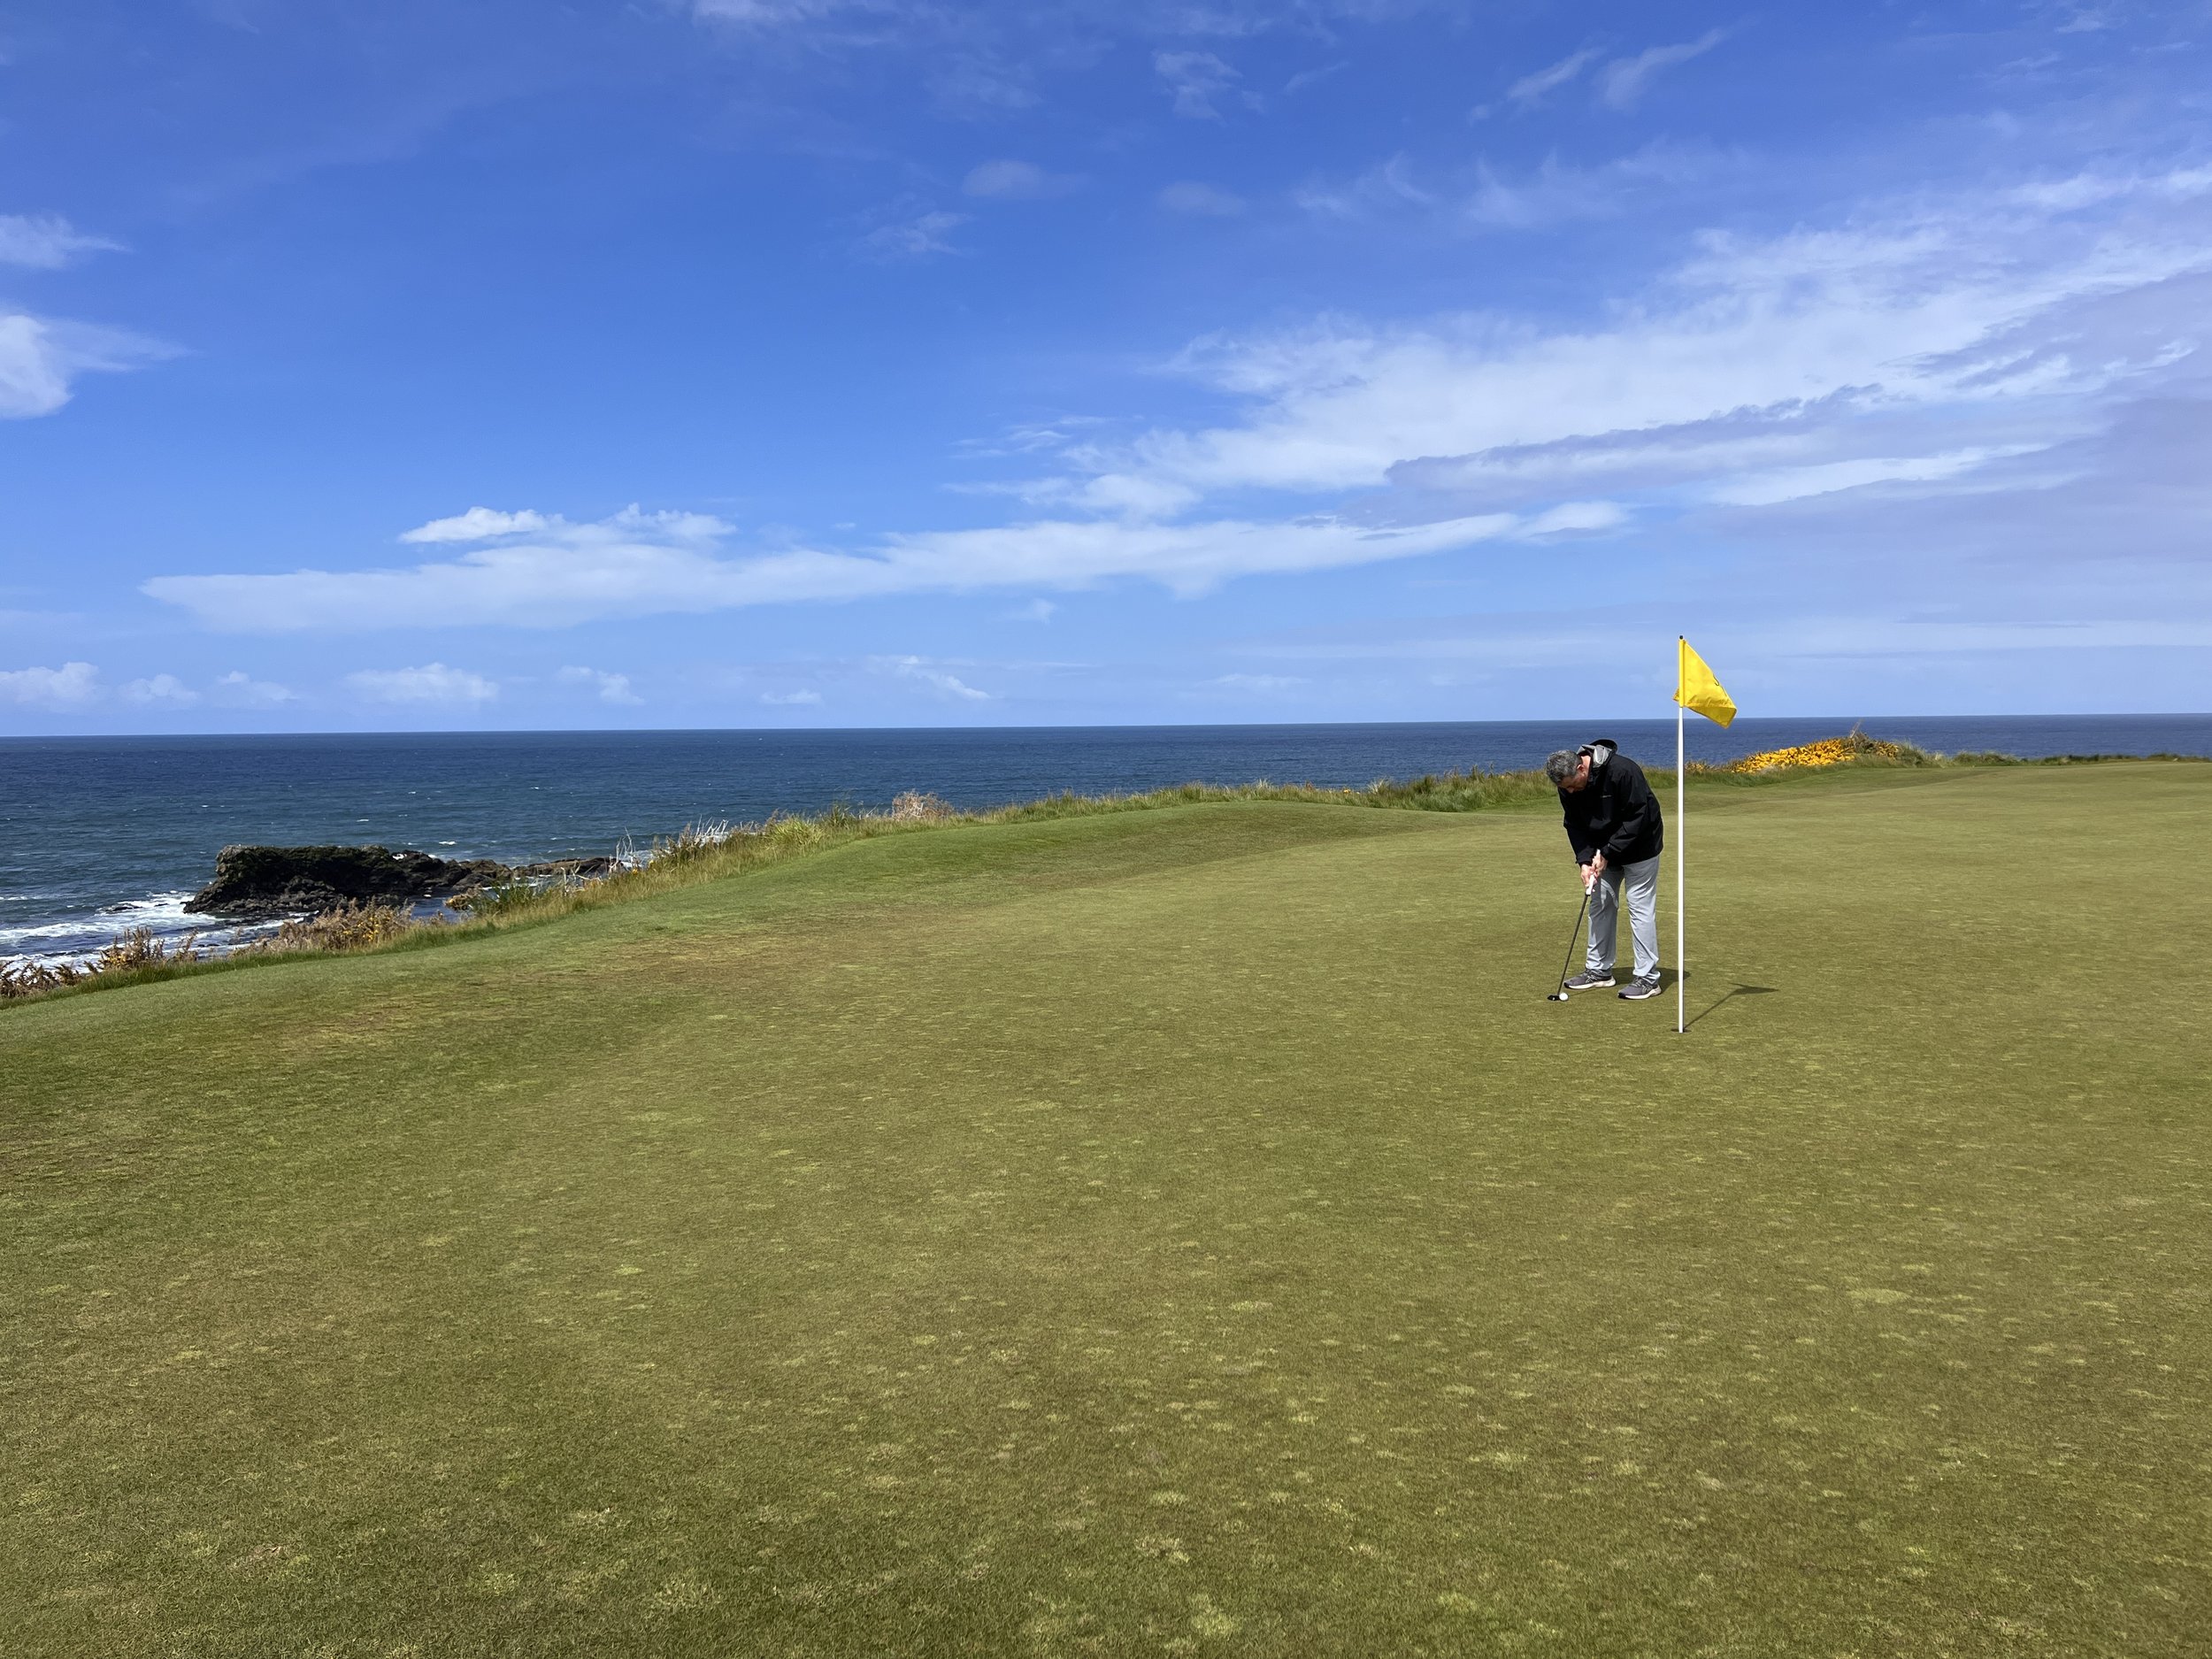
Lauren on the iconic hole #16 at Bandon Dunes

3. Be prepared to play a lot of golf

There is little else to do in Bandon Dunes other than play golf. The restaurant scene is limited and really just there to refuel before the next round. However, I will say, we had one of the best bartenders we have ever had at the Lodge restaurant, Christian. If you make it there and he’s working, have him make you his margarita. It was incredible. If you are traveling with non-golfers, they may not find much to do. I believe there’s a small spa on the property but little else. Remember, your first round of the day is full price, second round of the day is half off, and if you are lucky enough to squeeze in a third round, it’s FREE. There are six full courses on the property as well as a fun Par 3. So much golf and you will not get bored, I promise.

4. Having a Caddie is Optional but walking is NOT

Mike teeing off on Pacific Dunes

We reserved a caddie on our first day when we were booked for Pacific Dunes. However, due to a miscommunication, our caddie didn’t show up and we decided to go off on our own. The weather was a bit sketchy on our first day there. We played in the afternoon in a chilly rain that came and went at semi-regular intervals. It was tough to navigate some of the holes but there were plenty of rangers around the course to help direct you where to go, where to aim, etc. If you are planning on trying to play really well, a caddie may be a worthwhile investment. For us, it didn’t make sense. Day 2 started off at Sheep Ranch which is the newest of the courses. An early tee time had us teeing off in the 40’s under an overcast sky. We paired up with a man and his young son who were a joy to play with. Sheep Ranch is a cool track with nearly a mile of coastline and 9 holes on the edge of the continent. It features no bunkers (because that might make it too difficult) but the course is a lot of fun. Definitely a must see. We finished by noon and grabbed some lunch in the lodge. After a little resistance from Lauren, I convinced her to play another round. We got on Bandon Dunes shortly have 1 to get in a quick 18. Bandon Dunes is nothing short of spectacular. Rolling fairways, vibrant gorse, epic reveal of the Pacific Ocean, amazing. Of course it’s a must play. We actually ended up playing it twice as we had a tee time for the next morning as well. Our final round paired us with an older couple who opted to take a caddie. What we realized in that epically long round was that having a caddie may help you on the course but costs you a lot of time in the long run. Ultimately it’s a personal choice and one you have to make for yourself.

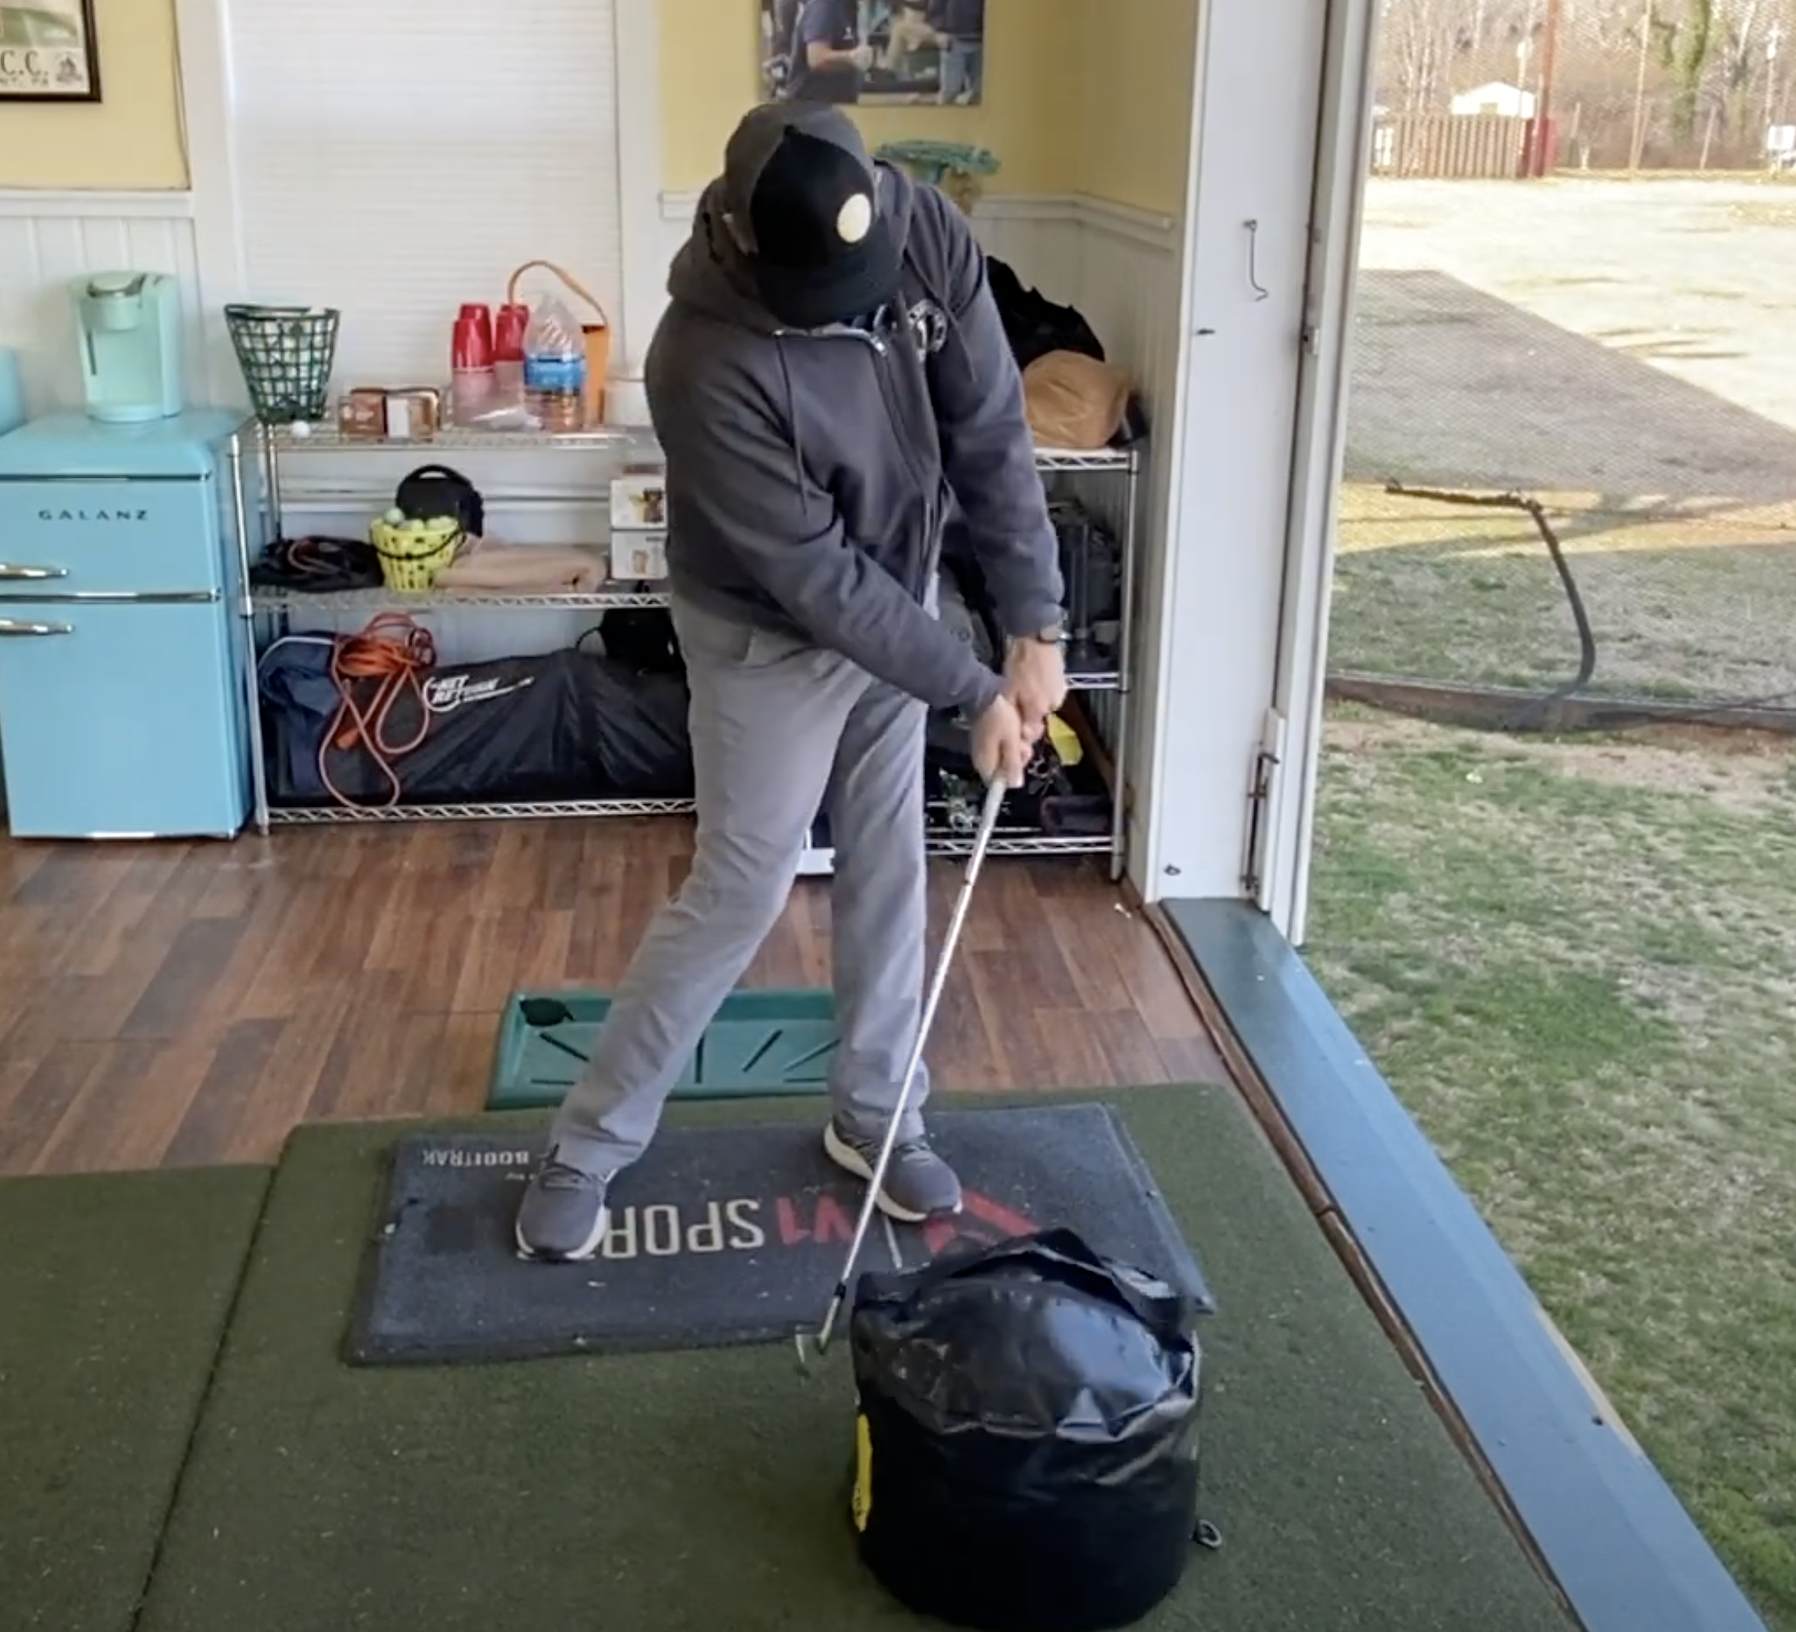
However, there are no carts at Bandon Dunes and you must be able to walk the course to play it. It would be wise to prepare your body for the exertion of playing multiple rounds and walking the entire course while carrying your bag. Having a caddie would be helpful in this regard as he or she will carry your bag for you.

Fireside at Sheep Ranch

5. Try to play all the courses when you go

We were able to play Sheep Ranch, Pacific Dunes, and Bandon Dunes twice. After chatting with the locals, the general consensus was that Bandon Trails was the favorite. For those who had been frequent guests, Old MacDonald was also a fan favorite. In hindsight we wished we had been able to play all the courses including the par 3. I guess we will just have to check it out next time. Try to go for 3-4 nights and plan to play 36 holes at least 1-2 days during your stay. Go with avid golfers as it will make it much more fun for you!

Ultimately, Bandon Dunes is a must see for anyone who loves golf. But there’s not much else so make sure you go with people who are obsessed with golf the way we are! Enjoy yourself, prepare for some rough weather and dress accordingly, and enjoy every moment of it.

Michael Block - How did he get to the PGA Championship?

While Michael Block didn’t win the Wannamaker Trophy at this year’s PGA Championship at Oak Hill in Rochester, New York, he easily won American hearts and went back home with more than just a paycheck.

Image courtesy of CNN

While Michael Block’s road to the PGA Championship was not atypical, it certainly had a remarkable and unrivaled finish. Block is the PGA Head Golf Professional at his home course, Arroyo Trabuco Golf Club in Mission Viejo, California. He has played in over 20 professional tour events and even made the cut in the 2015 Barbasol Championship.

So how did he get there?

One of the great and unique things about the PGA Championship is that it offers a spot to the top 20 finishers of the PGA Professional Championships. Michael Block shot an 8 under for the four day tournament finishing in a tie for second place. That second place finish landed him an invitation to the 2023 PGA Championship. But this wasn’t his first time competing in the PGA Championship. This was his 4th. He is clearly a solid player and incredibly consistent.

This is a hard game. It’s even harder to compete against players whose sole purpose is to play golf. Professional golfers breathe, eat, and sleep golf. They practice sometimes 8 hours a day, work out with golf specific physical therapists and trainers, swing coaches, putting coaches, elite technology, and the best equipment money can buy. To be able to compete on that level and secure an invitation to the 2024 PGA Championship with a top 15 finish was really an incredible thing to be able to witness. Congratulations to Michael Block for the performance of a liftime. It’s not something we willl soon forget. Enjoy this video of Michael Block promoting is home course, Arroyo Trabuco Golf Course in Mission Viejo, California 12 years ago, before anyone knew he was going to be a star!

High Versus Low Shots Around the Green

I once had a golf student that I took out on the course and I told him “whenever you think you should chip it, you should probably putt it.” The bottom line is that you want to get the ball on the ground as soon as possible. If you can putt it, you should putt it. If you can’t putt it, you should chip it. And if you absolutely can’t chip it, then you might have to pitch it. It should be the last option though.

Here’s the reality. Most amateur golfers if they are just off the green and they have a decent amount of green to work with, they are probably going to go to their golf bag and grab their wedge and their putter. If you are a higher handicapper or you don’t play a ton of golf, your wedge more often than not will get you into trouble. If you hit it well, most of the time it will not be exceptional. When you don’t hit it well, it can often be catastrophic. In order to hit the shot well, I need to have good technique: weight forward, hands forward, square club face, etc as well as the experience and skill to make decent contact (not to mention the mental fortitude to hit the shot under pressure).

On the other hand, if I grab my fairway wood or my putter and hit the same shot, the only thing I really need to focus on and figure out is how hard to hit it. So that means that all I need to practice is how hard to hit it. Even myself, who is fairly skilled, knows the technique, and practices, I still will always opt to take the shot that requires the least amount of skill especially if the stakes are high. In order to play your best golf, you need to play to your skill level. You should also be practicing the shots that require the least amount of skill.

I have played with a lot of higher handicappers and I can’t tell you the number of times they have hit their tee shot into the woods. All they would need to do is punch out of the woods in order to make a bogey and they can’t seem to get out of the woods. These are easy shots and you should be able to execute these shots most of the time.

And always remember around the greens, the less loft you use, the less skill you need!

Why Do Low Handicappers Tend to Hook?

A couple weeks ago, we talked about why the high handicapper slices. This week we are talking about why the low handicapper has a tendency to hook the ball.

Our high handicap golfer tends to swing the club a bit out to in. Conversely, the lower handicap golfer knows that he or she should be swinging more in to out; however, that golfer may swing a little too much in to out. In other words, if you tend to hook the ball, you are probably swinging out to the right (for a right handed golfer) with a closed club face.

If you are struggling with hook shots in your game, a way to correct this or to work on this would be to

  1. As you start your downswing, try to feel your hands moving away from you.

  2. Feel like you are unwinding your body in a way that’s going to get the club working more toward the target line. Your hands should be more out in front of your chest in the downswing as opposed to back behind you.

  3. Try to feel like you are swing more to the left (for a right handed golfer).

  4. Work on these drills mostly with a mid iron; it’s much easier to work on your swing with an iron than it is with a driver. The drill will translate to the driver if you work at it.

Why Do High Handicappers Tend to Slice?

We have a lot of recreational golfers coming to us who are frustrated about slicing their driver. Ultimately what is going on when someone is consistently slicing is that their club face is open relative to the path. This is sometimes called and out-to-in path or and over-the-top swing.

It’s pretty easy to see when you are slicing your driver and the need for a launch monitor isn’t really necessary. However, when you are working on “fixing” your driver, it’s MUCH easier to work on these drills with a shorter iron like a 7. So for this fix, grab a shorter club.

First of all, it is IMPERATIVE that you set up with good alignment. It’s pretty tough to figure out what’s going on in your swing if your alignment is bad. 99% of people who don’t practice with alignment sticks do not have good alignment. Make sure when you set up with the alignment aids, they are parallel.

Second, make sure you are setting up with a proper grip. Now you can focus on your swing path. If you are swinging the club out-to-in, chances are you feel like you are swinging the club straight at the target. So start trying to swing the club more in to out or to the right for a right handed golfer.

Chances are, the first couple of times that you try to swing the club more to the right (for a right handed golfer), you won’t make great contact. Part of the reason for this is that when you try to swing the club out to the right, you may throw your hands out away from you. However, when you do that, your entire club will be farther away from you and it’s really hard to connect with the center of the club face. So another way to think about this is to try to keep your back pointed at the target a little bit longer in your backswing as you unwind toward the target. This will help you unwind with your lower body first. This will help you shallow the club under the previous plane. Try this without a ball first to get the feel for it.

Another thing you can do is start to get more aware of the club face and feel like you are moving the toe of the club past the heel.

I’ve been playing the game a really long time and chances are, if you are new to the game, this will not come easy to you. However, if you keep working at it, it will become easier and will definitely help to fix that slice!

Hitting Up Too Much Can Cause A Slice

Did you know that hitting up too much can actually be causing your slice?

Before we get into it though, I have to start with the fundamentals. First off, you can’t expect to play good golf or to make an efficient swing and good connection if you don’t line up with your target. If you are consistently lining up incorrectly, you are going to incentivize yourself to make an inefficient swing in order to get the ball where you want it to go.

It’s very easy to set up with poor alignment without the use of proper aids.

Here I am using two golf shafts as my alignment aids.

The best way to insure that you are doing this is to use 2 sticks to help with alignment. One of the sticks should line up to the ball - this is your target line. The second stick, running parallel to the first stick will assist with lining your feet up to the target - this line will be parallel to your target line.

Okay, so now we get to the dreaded slice! A slice is a ball that curves dramatically to the right for a right handed golfer. Yeesh. That is ugly! Very often a slice can result from a weak lead hand grip. However, if you have checked your grip and made sure it was stronger and you are STILL slicing. What then?

Next, check your ball position. If your ball position is too far forward in your stance, you may be catching the ball as your club is traveling to the left which can result in a slice (for a right handed golfer). In other words, you will be catching the ball too much on the upswing.

Remember, if you have the ball too far forward in your stance, you may be catching the ball on the upswing as the club is going out to in which will very often result in a slice!

Are you struggling with a slice? Comment below.

Booking an International Golf Trip

Top 5 Tips for Booking an International Golf Trip

K Club in Ireland. The site of our first international golf trip 2023.

We have been wanting to host a group of golfers in a great location for a golf trip for years. We are finally putting it into action and we are heading to…Ireland! As we continue to plan this trip, we realize how much work goes into it and we thought it might be helpful to have a short list of the 5 most important things to know or keep in mind when planning an international golf trip.

  1. Work with a reputable company

    When booking an international retreat, you can always plan all the logistics yourself but that’s a ton of work, hours, and money that you could be doing something else. Our opinion: leave the planning to the experts. It will be worth the extra money you play to have someone else handle the dirty work. We decided to work with a company called Perry Golf. Perry Golf was established in 1984 and they are one of the leaders in golf trip planning in Europe. We were recommended by a golf student and after a great conversation with the owner, Gordon, we realized it was important to have someone on the ground who knew what they were doing. This company handles accommodations, tee times, transportation, and logistics for all of our guests. This takes a huge weight off our shoulders.

  2. Get recommendations on your retreat or trip leaders

    Your retreat leaders should not only be knowledgeable about golf but also have experience leading and traveling with groups, knowledge of local customs, and most importantly, they need to be enjoyable to be around. If you don’t know your retreat leader, you should at least have a reference or know something about them before signing on.

  3. Make sure your passport is up-to-date

    This may seem like a no-brainer but I have heard of experiences where all the travel planning had been done, deposits paid, flights booked, only to find out 2 days before the trip that passports are expired! Ouch! Which leads to the next point…

  4. Know your cancellation policy

    These trips take a ton of logistical planning so very often there is no refund the 60 days leading up to the trip. Life events can sometimes be tricky when it comes to health, travel, and family so know what you are getting into before you book. We ALWAYS recommend on a trip over $3000, that you purchase travel insurance. There are multiple ways to insure your travel so you aren’t out the full amount if something happens to derail your plans.

  5. Be prepared for golf, golf, and more golf

    Keep in mind that when traveling to Europe, you will very often have to walk 18 holes. More often than not, courses in the UK do not have carts and you will have to walk the entire 18 holes. This can be physically exhausting for many people, especially when you are playing multiple days in a row.

International travel can be tricky and intimidating and adding in golf can make it even harder to organize. We hope these little tips will help you as you plan. If you are interested in joining us on our Ireland Golf Trip, we have 14 spaces available, click the button to view the itinerary and reserve your spot!

Do You Need A Hybrid?

Lauren and I spent the afternoon at Drive Shack one Sunday and we played with a group of friends who don’t play much golf. The subject came up about the “rescue club” which is the hybrid club. We thought this would be a great topic for a video since some beginner golfers don’t know what they are.

What is a Hybrid?

A hybrid club is just like the name says: a hybrid of an iron and a wood. It’s meant to replace your longer irons.

Does everyone need a hybrid?

Yes, probably everyone could benefit from having a hybrid in their bag. The reason is a long iron doesn’t have a wide sole and there’s not a ton of material down low so it’s hard to get the center of gravity of the club below the equator of the ball. So when you catch the ball thin, you are catching the club on the way up a little bit. When you hit a hybrid club on the same shot, it has a shallower face and so much of the weight of the club is back and back behind where the ball would be so even if you catch it a little thin, all of the weight low and back on the club will still help you get the ball up in the air. Generally, the hybrid club is going to get the ball in the air much easier than a long iron. The manufacturers of clubs have essentially taken the guesswork out of it so that a 4 hybrid would be the club to replace your 4 iron. Theoretically, those clubs are intended to be hit the same distance (if they are hit solidly). That being said, you are more likely going to hit your 4 hybrid farther because you are likely not hitting your 4 iron solidly.

Which clubs should you replace with hybrids?

Once you get past your 7 iron, you are better off moving to a hybrid club especially for a recreational and beginner golfer. So anything 6 iron or longer. The higher handicapper or the newer you are at golf, the closer to the 6 iron you will want to replace. In other words, if you are a beginner golfer or have a handicap over 16, you should consider replacing your 6 iron and longer with a hybrid type club.

How long have hybrids been around?

When I was a kid, a company named Browning used to make a set of irons that looked like hybrids. They went away and then in the 90’s, Taylormade came out with the Rescue Club. In 2004 about 10% of golfers had hybrids in their bag, as of now, it’s a much bigger percentage. Even tour players are starting to use hybrids now as well.

Finally, if you are resistant to using hybrids because you believe you hit your long irons really well, I think if you give yourself a chance to hit some hybrids, you will find that you are playing the game better and enjoying the game more. Try to let go of your preconceived notions and biases that you may have because it is proven that hybrid clubs are so much easier to hit.

In the next few weeks, we will go over 3 different shots you can execute with your hybrid.

The Top 10 Etiquette Violations in Golf

What are the worst things you can do on the golf course???

Remember the difference between rules and etiquette violations in golf…rules violations will cost you strokes and etiquette violations will cost you playing partners, and friends. So here’s the list of the top 10 breaches of etiquette on the golf course in our own personal order. We have had a TON of suggestions and recommendations to add to this list but here’s what we came up with the start with:

#10. Giving yourself a gimme

Don’t ever assume your putt is good, especially if you are playing for money.

#9. Playing out of turn.

The general consensus is whoever is further from the hole or whoever had the best score on the previous hole typically goes first. There is one caveat here and that’s if you are playing “ready golf” to speed up the pace of play. However, you never want to assume that you are playing ready golf without talking to your playing partners. So if your playing partner had the better score on the last hole, but you are ready to hit, just ask if it’s okay. Don’t assume.

8. Unsolicited Advice

Don’t ever give advice on the golf course if someone hits an errant shot or is struggling with their swing. It’s not usually helpful or productive when someone is having trouble.

#7. Slow Play

Once it’s your turn to play and no one is in your way, hit your shot in less than 24 seconds. More than 2 practice swings is excessive and stay on task. Don’t lose track of whose turn it is by being distracted by other things (especially cell phone use). You want to try to play a round in under 4 hours and 15 minutes.

#6. Shadows or Movements in someone’s shot

You don’t really want to be anywhere that someone can be distracted by your movement. Your shadow should not be crossing the line of someone’s putt. Be aware of your presence when it’s someone else’s turn to hit. Try not to be distracting with movement.

#5. Playing Loud Music on the Golf Course

Be aware that some people really want to be out in nature and may not want to hear your music. Music also does carry across water so you want to make sure that other people aren’t forced to listen to music.

#4. Golf bag on the green

Make sure you don’t ever place your golf bag on the green. This can cause damage to the delicate greens and it’s also inconsiderate to the other golfers you are playing with.

#3. Disrespecting the Golf Course

Always leave the golf course in better shape than you found it. Pick up litter, fix your ball marks on the green as well as others, rake your bunkers, and generally keep the golf course in good condition.

#2. Talking or making noise in someone’s swing

Be very mindful to making noise in someone’s back swing or if they are about to hit a shot. Be very quiet while they are playing!

#1. Walking in someone’s line

We equate this to wearing white to someone else’s wedding. You need to be very aware of where everyone else’s ball is on the green and never walk between their ball and the hole. The history is that when people used to wear metal spikes on their golf shoes, they would change the grain of the grass and could cause someone’s putt to go off line. When you step on the green, there might be a slight indentation where your foot mark was and could change the roll of the putt. You will accidentally do it at some point. Just acknowledge it and apologize. Simply noticing that you did it will go a long way with your playing partners.

So there you have it…

Our top 10 etiquette violations in golf. We are talking more about this on Friday, June 10th at 4 pm live on Youtube and Instagram. We hope you will join us and give us some of your own suggestions on the things that drive you crazy on the golf course. Comment below with your suggestions!

Which Wedge to Use Around the Greens for Chipping or Pitching?

Here’s the situation.

You are around the green and you have a basic little pitch shot. You want to loft it on the green and have it roll out very little. Most people will take out their sand wedge for this shot but how do they feel about that. Probably very little confidence. If you are lacking confidence with this shot, you may want to change your strategy a little bit.

Ideally, remember the less loft you use, the less skill you need. So, if you can putt it, putt it. If you can’t putt it, you should probably chip it. But if you need to get the ball up in the air higher or maybe have a higher skilled shot, you may have no other option than to pitch it. Most recreational golfers are going to pull out a sand wedge attempting to hit a higher lofted shot that will land softly and roll out very little. However, when executing that type of shot, the golfer is going to need to put a lot of energy and acceleration into the shot to get it to go high enough. With this amount of energy being put into this particular shot, if you make less than solid contact, the results can be catastrophic!

There’s an easier way to do this…pull out your gap wedge.

The gap wedge is what the pitching wedge used to be. The gap wedge is actually preferable to get the ball on the ground sooner and have it roll out a little bit more. You might notice that if you make less than stellar contact, you might still not be in terrible shape. The idea is that with a less lofted club, we are going to see less catastrophe with our misses. Remember, nothing beats practice. Take a dozen balls out to the range and practice chipping with the different lofted clubs. You may notice that your misses are much better with the gap wedge than the sand wedge. Let us know if this helped.

What's Up With All The Wedges?

We have a lot of students who come out for golf lessons or classes who are brand new to the game and don’t know the difference between their clubs. Additionally, we have a ton of seasoned golfers who often get confused by the amount of variations of wedges that they might have in their bag. Your wedges might have a letter or a number on them. The varying degrees of loft can be quite overwhelming. Here’s a standard chart of the typical wedges you might have in your bag:

  • Pitching Wedge - 43-47 degrees

  • Gap Wedge - 47-52 degrees

  • Sand Wedge - 54-56 degrees

  • Lob Wedge - 58-62 degrees

First of all, as a new golfer, make sure you don’t have redundancy in your bag. You might have multiple clubs that are so close in loft that it’s completely unnecessary to have both. So check your lofts on your clubs. If your club has a letter instead of a number, you can have your club checked by someone who builds or repairs clubs to ensure that you have what you need in your bag.

The reason why this topic is so confusing is because of marketing.

It used to be that a pitching wedge was 50 degrees of loft, a 9 iron was 46 degrees, and an 8 iron would be 42 degrees. That pitching wedge would be enough loft that you would be able to hit a nice high shot that lands softly (known as a pitch shot) hence the name pitching wedge. Then you would have a sand wedge that would normally be 56 degrees. Just from your pitching wedge to your sand wedge would be a little bit of a stretch (*or gap) between the lofts. The manufacturers were trying to sell more golf clubs and probably sitting around the room trying to figure out how to sell more clubs by giving golfers what they want.

What do golfers want? They want more distance.

So they said, if we start making the lofts a little stronger, people would think they were hitting the clubs much longer. This continued happening until the pitching wedge became generally around 46 degrees which then popularized the club known as the gap wedge (also known as an alternate or utility wedge). It is a wedge that’s in between the pitching wedge and the sand wedge.

So what wedges do we need in our bag?

You absolutely need a 54 to 56 degree sand wedge in your bag. It’s an absolute necessity. You also should have a gap wedge. And then more than likely you will have a pitching wedge which hits more like an iron now than a wedge. You might also be tempted to have a 60 degree lob wedge in your bag. The actual area to effectively hit the ball solidly on a 60 degree lob wedge is very small so it becomes extremely tricky to hit well. You would do well to take the 60 out of your bag which will also help with some indecision you might have on which club to use.

Feel free to respond with any questions about wedges. Don’t forget, we go live on Youtube on Thursday, May 26th at 4 pm EST to talk more about this topic.

How To Use an Impact Bag?

There are a few ways to use an impact bag but I would like to talk about one of the ways I like to use it. First off, I want to talk about why we use the impact bag. The first impact bag was invented by a guy named Dr. Gary Wiren. Written on the first impact bag was the words “The Moment of Truth”. What this means is that when you are using the impact bag, the moment of truth is when we strike the ball, right at impact. We really like to use the bag mostly for those who tend to “scoop” the ball, both during little shots and full shots. This is usually what happens when golfers, sometimes unconsciously, try to lift the ball in the air by trying to get under it. What we actually want to happen is to strike the ball with our handle (and hands) leading the clubhead at impact. When you see pros hitting shots on the range and during a round, their club is still descending when they make contact with the ball which is why their divot is ahead of the ball.

One of the most important principles to adhere to while using the impact bag is to swing the club slow and intentional in order to get the correct impact position. I also would recommend aiming for the center of the impact bag with your club head.

Good Impact Position!!!

Poor impact position

There are 3 drills I would recommend to do while using the impact bag. Image and description of each drill below.

Lead hand on the club only with the wrist bowed or flexed.

2. Trail hand only drill where the trail wrist is cupped or extended.

3. Both hands on the club swinging slowly and intentionally to create good impact position and weight transfer.

Ultimately, the purpose of this drill is to get you transferring weight into your lead leg early and also get a feel for good impact position.

If you’d like to purchase an impact bag, click here.

Learn to Pivot

Here’s another great drill to work on indoors during the winter months or rainy days. This is something that a lot of people don’t like to work on and only really gloss over this major problem. The reverse pivot is a huge problem and can’t seriously affect your ability to get the club on the correct swing plane. The reverse pivot is when your secondary spine angle changes and causes your back hip to slide back and the orientation of your spine become the reverse of what it should be. When you look at a really good player, if you put a line on the back side of the player, when the shoulders turn back, the hips stay in place and a bit later, the hips turn. There is no lateral slide to those hips. When we laterally slide, we have to make some compensations to get back to the ball. So how do we fix this?

We are going to learn this one piece at a time. First, we want to be able to feel what the correct motion feels like. So start this without a club and a ball. We are going to bump our hips toward the target and let our head drop back behind the ball. But you still want to be vertical. Then we are going to put our club across our chest. When we turn back away from the target, we should feel some resistance in that rotation. We can feel some pressure between the ball and the heel of your foot. This is really helpful if you can use a mirror to see what’s going on in your body. When we make that turn, we should maintain the integrity of our spine in that secondary spine tilt. So first, let’s make sure you can rotate those shoulders 90 degrees around your spine. Practice the rotation in the mirror for about a week and make sure you can do this without sliding those hips.

Next, we add the primary spine tilt which is the bend at the hips so that we can hit the ball from the ground. When i bend at the hips, I want my hips to be directly between my ankle bones. When I bend forward at the hips, I want to make sure the club is 90 degrees to my spine.

Finally, this is a great drill to do on the Perfect Motion app. I am going to start the app and I’m not going to take a full swing, I am going to cross the club across my chest and go through the swinging motion with the club across my chest. You can use the feedback on the app to see what’s going on in your swing. Position one is position at address, position two is the top of my backswing, and position three is impact position. We are focusing on position two with this drill to make sure we are getting into a nice pivot position.

Fix the reverse pivot and golf will become a lot more fun!

Stop Slicing By Adding Side Bend

This is a great drill you can do to help with slicing. Slicing can be one of the most frustrating things in golf. Two things are going on when you are slicing. First, your club face is open meaning that the club face is pointing right of your target line for a right-handed golfer and left of the target line for a left-handed golfer. You are also swinging out to in. When it comes to the path of the club, you must swing the club with a little bit of side bend. This is what we call a secondary spine tilt. If you are coming through with your swing and you don’t have enough side bend, the club will come from out to in on its path. You can use the Perfect Motion app to really see your secondary spine tilt. The app allows you to see where the center of your chest is at impact and can really help you with fixing your side bend problem. You can do this drill without a ball and you can even do this drill without a club. When looking at the PerfectMotion app, the numbers on the app show you the position of the center of your chest at set up, at the top of the backswing, and at impact. Another cool feature when looking at your motion maps is the “Pro Overlay” feature to see what a professional golfers motion map looks like on top of your own for a comparison.

So the drill we did in this video was a one arm swing where our focus was to initiate my downswing using my lower body and simulate skipping a stone. Try this drill to increase side bend at impact and help you stop slicing the ball.

Add side bend thumbnail rounded.png
Great Chipping with At Home Practice

During the winter months while you are stuck inside, there is a way you can work on your short game. Every person can do this to work on your chipping inside your home. Here’s a great tip to work on your chipping.

Tip #1:

Starting off, don’t use a ball or any technology, just your club. We are going to start off with an alignment stick or some type of stick that you can use in place of it. I am going to take it underneath the grip of my club and I am going to hold the stick and my club together at the same time. When I set up, the end of the stick is out ahead of me. I am going to make my chipping stroke and practice making that stroke without allowing the stick to hit me in the side. We call this the punisher drill. You can do this without a ball and without a hitting net and you will see a dramatic improvement in your impact position in your chip shots. The trick with the punisher drill is to keep your weight in your front side throughout the swing to avoid having that stick hit you in the side at impact.

Tip #2:

This tip is going to require the use of some technology and some equipment. We are going to use a ball in this drill. You can use a foam ball which will allow you to avoid the use of a net. However, if you have the ability to use the Net Return and real golf balls, I highly recommend it. It will last you a long time. You can also download the PerfectMotion App. You can get the first two weeks free on the app and after that it is $6 per month. Under the PerfectMotion app, you do an evaluation session for chipping with no ball. I will also check mark video snapshots and start at Skill Level 1. Hit start session. You can choose 5 or 10 swings to capture but for the purposes of this video, I chose 5 swings to capture. Also keep in mind when using the app, especially if you aren’t using a ball that the app recognizes the completion of your swing based on your head position, so make sure you follow the ball the same way you would if you were hitting a real shot. On purpose for the video, I created a swing flaw and I was trying to move away from the ball at impact. You can look at each one of your motion maps to see what your motion is doing during the swing and look at the comparison to the motion map of a tour pro. So now I am moving into working with a ball and I have changed the skill level to 3. You will be able to look at the snapshots of your actual shot to analyze anything you think you might be able to do better. This is a way for you to have some really productive practice and really focused practice sessions especially if you are having to work on your game inside.

V1 Pressure Mat Works for kids too!

Today we worked with Kadyn to help her hit her iron shots more solidly by using the V1 Pressure Mat.

Kadyn asked me why she kept hitting behind the ball and what that had to do with her pressure. When we put her on the pressure mat and took at look at her pressure on the pressure mat. We found that she started off with 54% of her weight in her front foot which is just about perfect. When she took the club back, her weight started moving forward instead of moving back. Typically when this happens, the golfer would start moving their weight back as they start to swing the club through. However, Kadyn never actually got her weight into her back foot but her impact position was really good. In order to create a more dynamic swing for her, we had her pick up a medicine ball to help her move her weight back and then forward.

When we use a tool that’s heavier than a golf club, it helps us keep the synchronization of our body through the golf swing. We are more likely to use our entire body as a unit to move the club. We also want to try to get our weight more into our front heel. Using the medicine ball, take the ball back into your backswing and keeping your back pointing toward the target, start initiating your weight into your front foot.

PRESSURE MAT THUMBNAIL ROUNDED.png

If we can get our weight moving forward before we even initiate the downswing, we are more likely to hit the ball before the ground which will give us more solid contact every time!

Fix Your Slice at Home

Now that the weather is getting colder and it’s getting darker earlier, you have the opportunity to improve your golf game at home with very little equipment.

We have the advantage of the Net Return golf net and the Skytrak launch monitor. We know that most people do not and we want to help you improve your slice at home with just a golf club and a little bit of space.

In our golf studio, we are able to work with our students during inclement weather. For some people, it makes sense to deck out their space with all the gadgets but for some people, this may not be an option.

If you are struggling with a slice, your club face is probably open relative to your swing path. Most of the time this means that the club face is open and the path is moving to the left. The first thing we want to do is make sure we have a good grip. A strong grip means that the V between my thumb and forefinger on my top hand points toward my back shoulder. For someone who has had a chronically weak grip, this may be something that you have to work on for awhile to get comfortable. Once you have committed to that strong top hand, we can move onto the next thing. If the grip is strong and you’re still struggling with a slice, we may want to start looking at the next thing which would be swing path.

We need to keep our hands in front of our chest for as long as possible. Visualize yourself holding a 50 pound sandbag. We are going to need to rotate our torso in order to get that bag to swing. We want to mimic that same body movement when we hold our club, keeping our hands and arms fairly inactive. At home, you can also use a soccer ball or basketball to try to keep your hands in front of your chest during the swing. Once you put the club in your hands, try to keep the club parallel to the ground when it’s parallel to the target.

It’s helpful to have something to swing into but if you can get started off correctly, working on those things at home, when you get to the range, you will be able to use what you’ve been working on at home. In our next instructional blog, we are going to talk about how to start your downswing inside while you practice to have a better chance to swing the club in-to-out and hit the ball straighter. Click the picture below to watch the video.

SLICE FIX AT HOME ROUNDED.png

To watch our instructional video

Fixing Your Slice Using the Skytrak

Now that it’s starting to get colder and we must find ways to work on our golf game indoors. In this blog, I will show you how to use the Skytrak Launch Monitor to help fix your slice indoors.

First, let’s talk about setting up the launch monitor. To set up, you are going to click on Session Settings. Set the camera angle to first person. You can play around with the settings to have it set up exactly how you want it but I like to see my main distance view to be set up as “carry”. Of course I make sure that it’s set up for a right handed golfer and I like for my ball spin to be set up as “spin axis”. Spin axis is going to show you the curve of the ball in the air.

I am using the Net Return in this video and this is particularly helpful in the winter months and rainier season. I have used the Net Return for 10 years and I have been very pleased with the customer service and the quality of the product. I have carried the Net Return around the country for golf events, it has seen literally thousands of swings. It has been packed up, shipped out, banged around, and driven over by a van and I would never go with another product. It comes with shank guards on the sides as well.

In this video, I was looking for a particular shot. This is a very common ball flight, something I see in a lot of my students. If you are having trouble with a slice or you are thinking about getting one of these indoor set ups, this may be the video for you. If you are seeing a consist situation where you have this 14 degree tilt to the right, you may be struggling with this. You may have an open club face with an out-to-in swing path which is causing the ball to go off to the right. Before we even begin, we may want to see where you are hitting the ball on the club. By putting some foot powder on your club face, you can see where you are hitting the club. If your path and face are both square to the target at impact and you hit the ball on the toe, your ball will hook. If you hit the ball on the heel of the club your ball will go off to the right.

So if you have seen a consistent trend of ball flight to the right and your club face is open, the first thing you may want to check is your grip. With the grip, make sure that the “V” between your thumb and forefinger on your left hand (for a right-handed golfer) is pointed at your back shoulder. The palm of your right hand should be perpendicular to the target.

If you’ve adjusted your grip so that you have a nice strong grip, and you are still seeing an open club face, the next thing you may want to work on is your swing path. First, with a very slow and short swing, you want to watch your club face to make sure that it remains square to the arc of your swing. As you take the backswing, check to make sure that club face is opening, squaring up through impact, and then closing on the follow through. This is much easier to do when you are slowing down the swing. Quiet down your hands and let the club swing. Once you start to see a spin axis that is consistently to the left, you can start to make a bigger and faster swing and see if you can maintain that leftward spin axis.

Practice this drill using the Skytrak to see if you can get your slice under control through the winter time and you will have more fun and see lower scores in 2021!

Check out the video here!

SKYTRAK SLICE FIX THUMBNAIL ROUNDED.png

To purchase the Skytrak or Net Return Click Here!

Using the SkyTrak Launch Monitor

Let’s keep this super simple. When you are practicing indoors, if you don’t have feedback as to where the ball is going, things can become difficult. When it comes to finding the latest and greatest in technology, understanding what is important on a screen full of numbers is also confusing and overwhelming. So today we are trying to keep it simple when it comes to comprehension of the numbers on your screen.

SKYTRAK THUMBNAIL ROUNDED.png

To watch the full video:

https://www.youtube.com/watch?v=URKSZlTXg8o&feature=youtu.be

We were on the third take of our instructional video when Lauren peered over the camera and said to me, “You’re making this too complicated. I don’t understand what half of these numbers mean. Give it to me straight. Which numbers are important when it comes to understanding ball flight?” The result was the final cut of the video.

In a nutshell, when I hit a ball indoors, possibly into a net, I want to make sure that the numbers I am seeing are giving me an accurate depiction of what my ball flight would do if I were on the range. Here are the important things to know on your launch monitor: how far you are hitting the ball and whether the ball is going left, right or straight. The Skytrak gives you a shot tracer so you can have a general idea of what your ball flight would look like. But there are also some other numbers to look at when it comes to ball flight. In this video we looked at spin axis and side angle. Spin axis, provided there’s no wind, will tell you if your ball would be curving right or left. Side angle will tell you which direction your ball launched in relation to the target. Next week we will dive more into some of the more common swing flaws and what they might look like on the Skytrak. In general though, if your spin axis is tilted to the right, you probably have an open club face and you are probably swinging on an out to in path. This is often true especially if your ball launches left with a spin axis to the right.

If you are practicing indoors and you can’t see where the ball is going, you may be in for a rude awakening. It’s very important to understand what is going on with your ball flight. The Skytrak is a fantastic product with a reasonable price point and is a very durable machine. We have used our Skytrak Launch Monitor for 6 years in a commercial setting and it still works great. If you have any questions about what you are seeing on your Skytrak, please reach out with questions. If you are interested in purchasing the Skytrak, click here for more information.

Stuck Behind A Bunker?

You probably know the situation. You hit a shot that lands just behind the bunker. Your next shot should be easy but it goes straight into the bunker instead of over it. How can you stop dumping those shots into the bunker?

In order to quit dumping those pitch shots directly into the bunker instead of getting over it, you need to practice the shot. That’s the number one tip I can offer is to practice the situation as much as possible. It is usually better to miss this shot long than short. In order to do this, you want to visualize the ball landing in the hole. This will help you overshoot your target rather than undershoot it. Depending on your lie, this may make a bit of difference how you approach the shot. Generally speaking, you will probably find yourself with a pretty good uphill lie if you have a bunker between you and the green. The result of having an uphill lie will naturally give more dynamic loft to your club. This will require you to swing a little bit harder than you normally would with a flat lie. With an uphill lie, you will need to angle your shoulders a little bit more to match the incline of the hill you are hitting on. Take a practice swing before you execute the shot and try to get your divot ahead of the ball. Swing aggressively with the shot and visualize your shot landing in the hole.

What if you have a less than ideal lie? If the ball is positioned in the weeds or deep in the rough, it may be difficult to make contact with the club. I would play this shot a little more like a greenside bunker shot. Instead of trying to hit the ball first and then the ground, I am going to try to make contact with the ground first and carry the turf and have the ball come out with the turf. I am also going to open up my stance a bit just like I would with a greenside bunker shot. When the ball comes out with this kind of shot, it is going to come out a little bit lower and it’s not going to want to stop. In other words, you want to hit this ball fat on purpose. We want to swing aggressively on most of these shots. If you hit it long, chances are, you will be in good shape.

When it comes to trying to get over a bunker or hazard, it’s really important that you practice the shot. Find a place where you can practice the shot at a range or practice facility. Get used to the shot and it will be much easier to execute.

The CutterGolf Cutter Wedge was used in the making of this video. The low center of gravity and wide sole makes these types of shots much easier to execute. You can purchase yours at this link:

https://www.sullivangolf.net/clubs

The link to watch the full video:

https://youtu.be/wuOIh-5y_P0

HITTING OVER A BUNKER THUMBNAIL ROUNDED.png