Posts tagged golf blog
High Versus Low Shots Around the Green

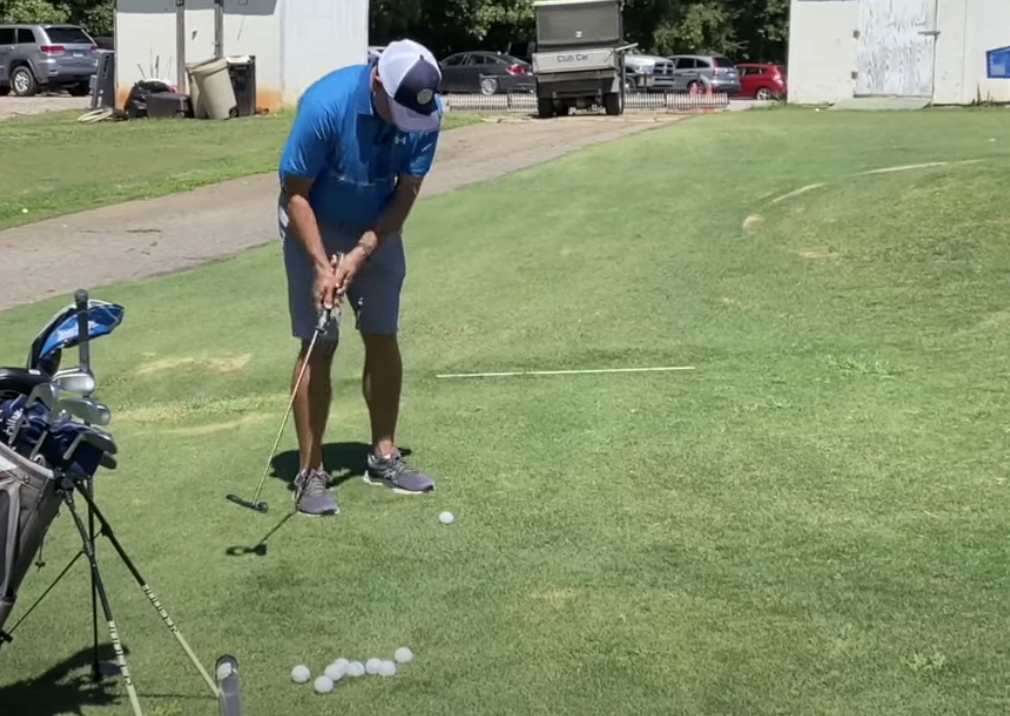
I once had a golf student that I took out on the course and I told him “whenever you think you should chip it, you should probably putt it.” The bottom line is that you want to get the ball on the ground as soon as possible. If you can putt it, you should putt it. If you can’t putt it, you should chip it. And if you absolutely can’t chip it, then you might have to pitch it. It should be the last option though.

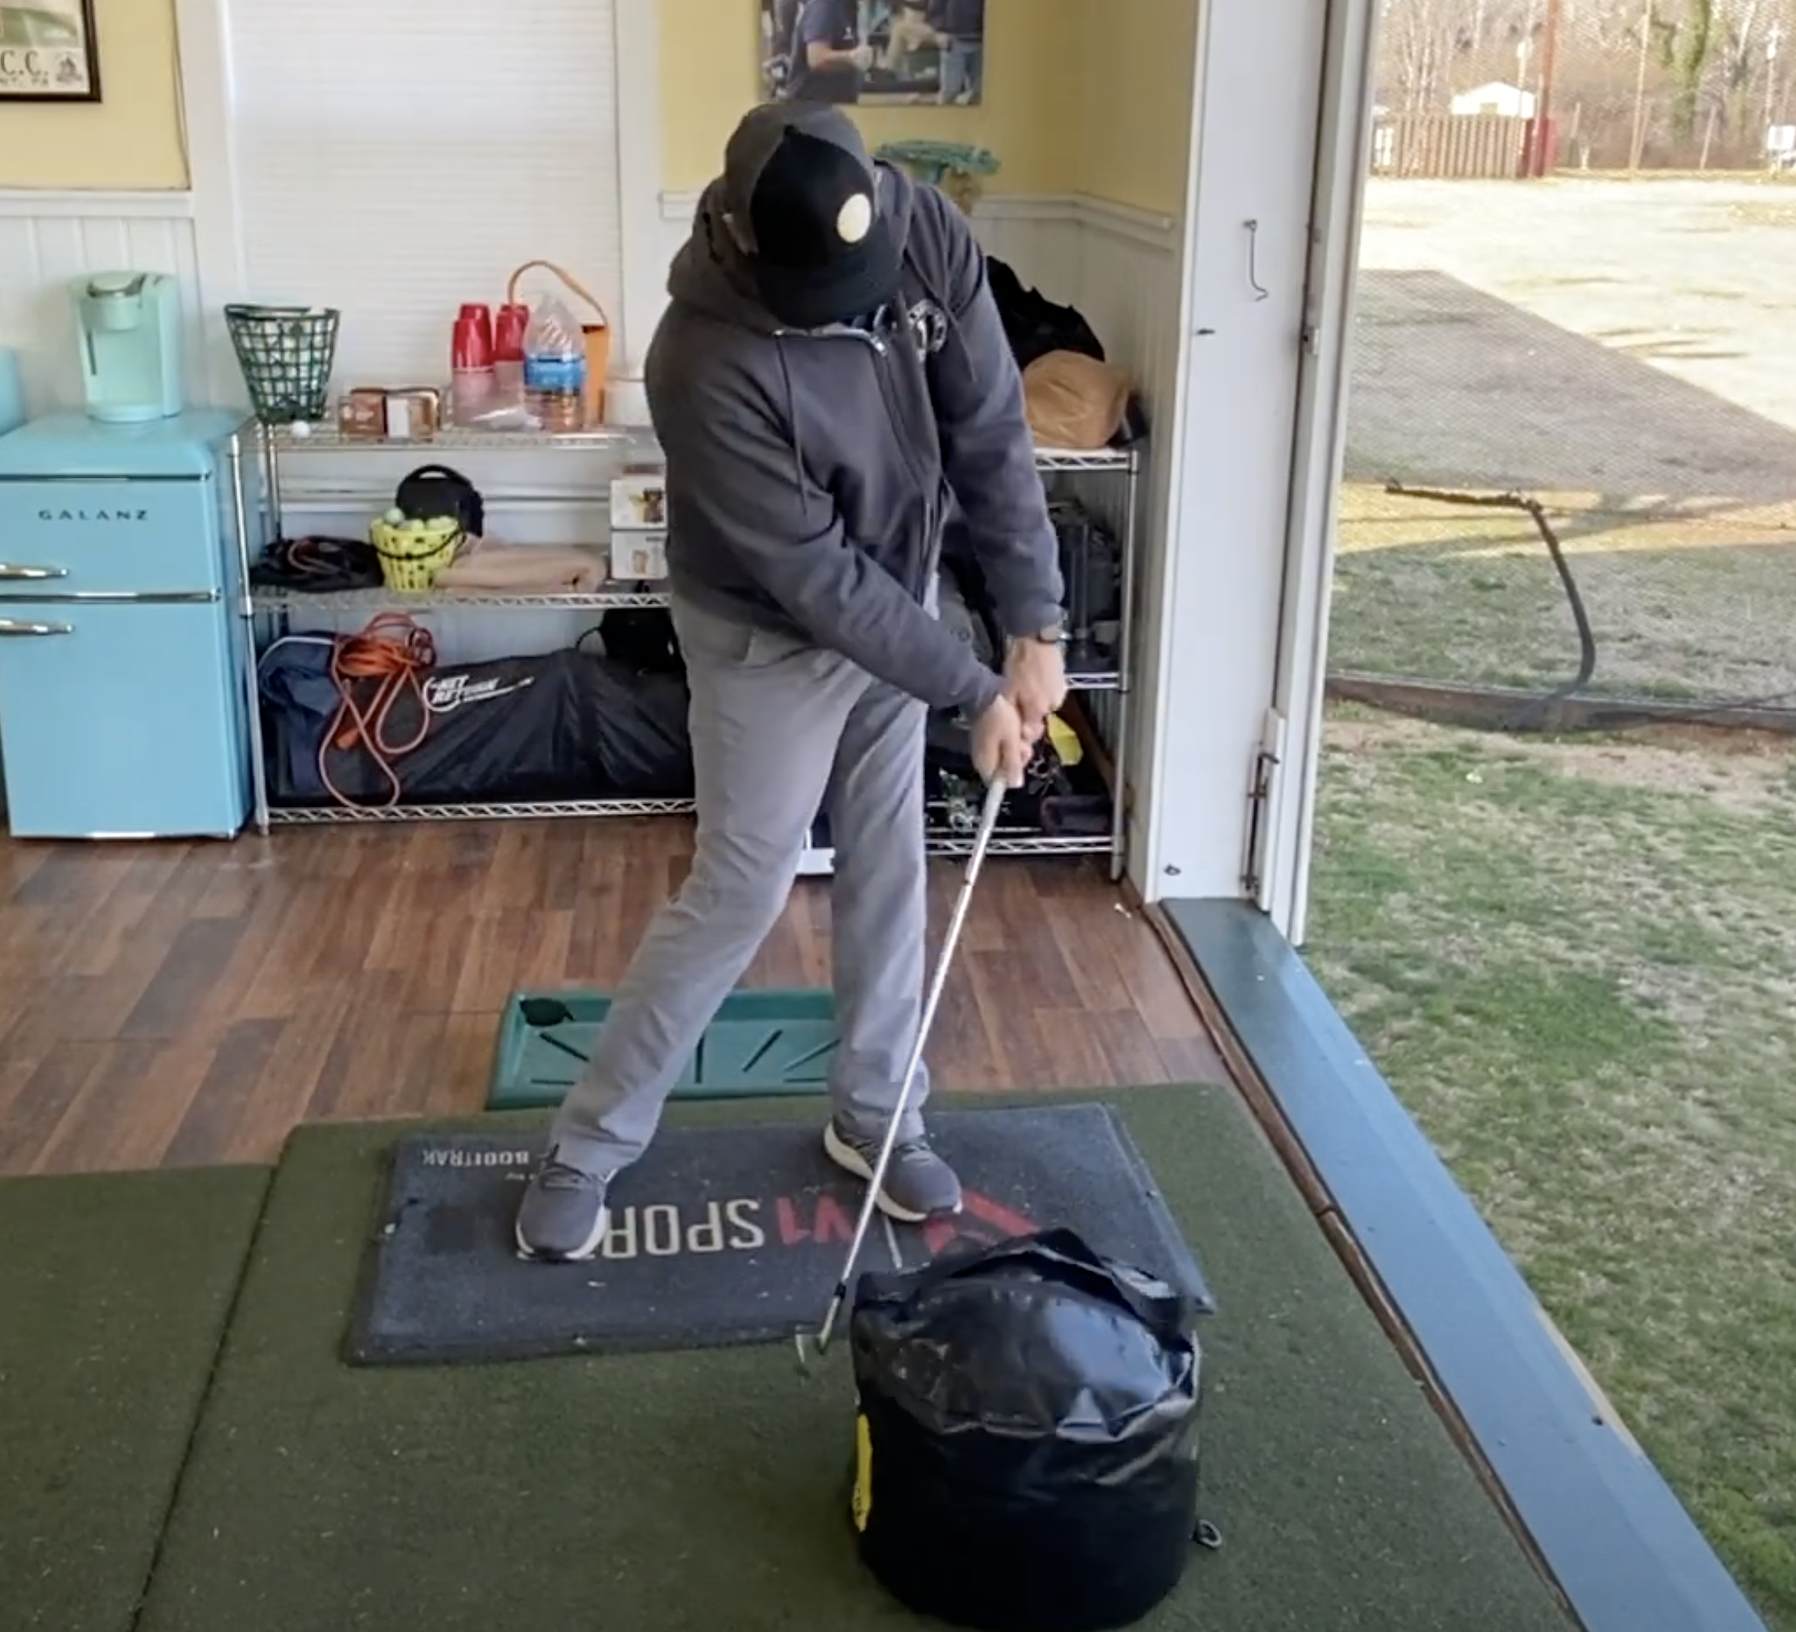
Here’s the reality. Most amateur golfers if they are just off the green and they have a decent amount of green to work with, they are probably going to go to their golf bag and grab their wedge and their putter. If you are a higher handicapper or you don’t play a ton of golf, your wedge more often than not will get you into trouble. If you hit it well, most of the time it will not be exceptional. When you don’t hit it well, it can often be catastrophic. In order to hit the shot well, I need to have good technique: weight forward, hands forward, square club face, etc as well as the experience and skill to make decent contact (not to mention the mental fortitude to hit the shot under pressure).

On the other hand, if I grab my fairway wood or my putter and hit the same shot, the only thing I really need to focus on and figure out is how hard to hit it. So that means that all I need to practice is how hard to hit it. Even myself, who is fairly skilled, knows the technique, and practices, I still will always opt to take the shot that requires the least amount of skill especially if the stakes are high. In order to play your best golf, you need to play to your skill level. You should also be practicing the shots that require the least amount of skill.

I have played with a lot of higher handicappers and I can’t tell you the number of times they have hit their tee shot into the woods. All they would need to do is punch out of the woods in order to make a bogey and they can’t seem to get out of the woods. These are easy shots and you should be able to execute these shots most of the time.

And always remember around the greens, the less loft you use, the less skill you need!

How To Use the Chip Assist Training Aid

In order to stop scooping or flipping your chip shots, we have found an incredible training aid, the Chip Assist.

A topped shot and a chunked shot are the same thing, a topped shot is hitting the ball first and a chunked shot is hitting the ground first. But in both cases, the club is passing your hands at impact. When we try to get people to get their hands ahead of the ball, we usually use the impact bag. However, often people incorrectly swing at the impact bag and unintentionally drag the handle through impact. What we really want to happen, is we really want to get our hips out of the way of the club. It’s the same action as skipping a stone.

I often say to students, when we are learning to swing the club, we are trying to swing the club exactly like we would skip a stone. So we came across the Chip Assist tool that helps us achieve this. The Chip Assist also comes with an adapter for anyone with a smaller grip on their clubs such as juniors, ladies, or men with small hands.

When using the Chip Assist, you will set up with the tool resting on your lead hip or lead waist. When making a swing, if you tend to get scoopy or handsy, the device will correct this movement pattern by smacking you on the side.

The best way to use this tool is to accompany it with the impact bag to create both good impact position as well as getting those hips working toward the target. We want our club shaft to lead our club head. When your hip gets out of the way, you are probably going to get the hands ahead of the club face. To purchase yours: https://amzn.to/3rfggjN

Click the picture below to watch the full video.

How To Use an Impact Bag?

There are a few ways to use an impact bag but I would like to talk about one of the ways I like to use it. First off, I want to talk about why we use the impact bag. The first impact bag was invented by a guy named Dr. Gary Wiren. Written on the first impact bag was the words “The Moment of Truth”. What this means is that when you are using the impact bag, the moment of truth is when we strike the ball, right at impact. We really like to use the bag mostly for those who tend to “scoop” the ball, both during little shots and full shots. This is usually what happens when golfers, sometimes unconsciously, try to lift the ball in the air by trying to get under it. What we actually want to happen is to strike the ball with our handle (and hands) leading the clubhead at impact. When you see pros hitting shots on the range and during a round, their club is still descending when they make contact with the ball which is why their divot is ahead of the ball.

One of the most important principles to adhere to while using the impact bag is to swing the club slow and intentional in order to get the correct impact position. I also would recommend aiming for the center of the impact bag with your club head.

Good Impact Position!!!

Poor impact position

There are 3 drills I would recommend to do while using the impact bag. Image and description of each drill below.

Lead hand on the club only with the wrist bowed or flexed.

2. Trail hand only drill where the trail wrist is cupped or extended.

3. Both hands on the club swinging slowly and intentionally to create good impact position and weight transfer.

Ultimately, the purpose of this drill is to get you transferring weight into your lead leg early and also get a feel for good impact position.

If you’d like to purchase an impact bag, click here.

Learn to Pivot

Here’s another great drill to work on indoors during the winter months or rainy days. This is something that a lot of people don’t like to work on and only really gloss over this major problem. The reverse pivot is a huge problem and can’t seriously affect your ability to get the club on the correct swing plane. The reverse pivot is when your secondary spine angle changes and causes your back hip to slide back and the orientation of your spine become the reverse of what it should be. When you look at a really good player, if you put a line on the back side of the player, when the shoulders turn back, the hips stay in place and a bit later, the hips turn. There is no lateral slide to those hips. When we laterally slide, we have to make some compensations to get back to the ball. So how do we fix this?

We are going to learn this one piece at a time. First, we want to be able to feel what the correct motion feels like. So start this without a club and a ball. We are going to bump our hips toward the target and let our head drop back behind the ball. But you still want to be vertical. Then we are going to put our club across our chest. When we turn back away from the target, we should feel some resistance in that rotation. We can feel some pressure between the ball and the heel of your foot. This is really helpful if you can use a mirror to see what’s going on in your body. When we make that turn, we should maintain the integrity of our spine in that secondary spine tilt. So first, let’s make sure you can rotate those shoulders 90 degrees around your spine. Practice the rotation in the mirror for about a week and make sure you can do this without sliding those hips.

Next, we add the primary spine tilt which is the bend at the hips so that we can hit the ball from the ground. When i bend at the hips, I want my hips to be directly between my ankle bones. When I bend forward at the hips, I want to make sure the club is 90 degrees to my spine.

Finally, this is a great drill to do on the Perfect Motion app. I am going to start the app and I’m not going to take a full swing, I am going to cross the club across my chest and go through the swinging motion with the club across my chest. You can use the feedback on the app to see what’s going on in your swing. Position one is position at address, position two is the top of my backswing, and position three is impact position. We are focusing on position two with this drill to make sure we are getting into a nice pivot position.

Fix the reverse pivot and golf will become a lot more fun!

Stop Slicing By Adding Side Bend

This is a great drill you can do to help with slicing. Slicing can be one of the most frustrating things in golf. Two things are going on when you are slicing. First, your club face is open meaning that the club face is pointing right of your target line for a right-handed golfer and left of the target line for a left-handed golfer. You are also swinging out to in. When it comes to the path of the club, you must swing the club with a little bit of side bend. This is what we call a secondary spine tilt. If you are coming through with your swing and you don’t have enough side bend, the club will come from out to in on its path. You can use the Perfect Motion app to really see your secondary spine tilt. The app allows you to see where the center of your chest is at impact and can really help you with fixing your side bend problem. You can do this drill without a ball and you can even do this drill without a club. When looking at the PerfectMotion app, the numbers on the app show you the position of the center of your chest at set up, at the top of the backswing, and at impact. Another cool feature when looking at your motion maps is the “Pro Overlay” feature to see what a professional golfers motion map looks like on top of your own for a comparison.

So the drill we did in this video was a one arm swing where our focus was to initiate my downswing using my lower body and simulate skipping a stone. Try this drill to increase side bend at impact and help you stop slicing the ball.

Add side bend thumbnail rounded.png
V1 Pressure Mat Works for kids too!

Today we worked with Kadyn to help her hit her iron shots more solidly by using the V1 Pressure Mat.

Kadyn asked me why she kept hitting behind the ball and what that had to do with her pressure. When we put her on the pressure mat and took at look at her pressure on the pressure mat. We found that she started off with 54% of her weight in her front foot which is just about perfect. When she took the club back, her weight started moving forward instead of moving back. Typically when this happens, the golfer would start moving their weight back as they start to swing the club through. However, Kadyn never actually got her weight into her back foot but her impact position was really good. In order to create a more dynamic swing for her, we had her pick up a medicine ball to help her move her weight back and then forward.

When we use a tool that’s heavier than a golf club, it helps us keep the synchronization of our body through the golf swing. We are more likely to use our entire body as a unit to move the club. We also want to try to get our weight more into our front heel. Using the medicine ball, take the ball back into your backswing and keeping your back pointing toward the target, start initiating your weight into your front foot.

PRESSURE MAT THUMBNAIL ROUNDED.png

If we can get our weight moving forward before we even initiate the downswing, we are more likely to hit the ball before the ground which will give us more solid contact every time!

Fixing Your Slice Using the Skytrak

Now that it’s starting to get colder and we must find ways to work on our golf game indoors. In this blog, I will show you how to use the Skytrak Launch Monitor to help fix your slice indoors.

First, let’s talk about setting up the launch monitor. To set up, you are going to click on Session Settings. Set the camera angle to first person. You can play around with the settings to have it set up exactly how you want it but I like to see my main distance view to be set up as “carry”. Of course I make sure that it’s set up for a right handed golfer and I like for my ball spin to be set up as “spin axis”. Spin axis is going to show you the curve of the ball in the air.

I am using the Net Return in this video and this is particularly helpful in the winter months and rainier season. I have used the Net Return for 10 years and I have been very pleased with the customer service and the quality of the product. I have carried the Net Return around the country for golf events, it has seen literally thousands of swings. It has been packed up, shipped out, banged around, and driven over by a van and I would never go with another product. It comes with shank guards on the sides as well.

In this video, I was looking for a particular shot. This is a very common ball flight, something I see in a lot of my students. If you are having trouble with a slice or you are thinking about getting one of these indoor set ups, this may be the video for you. If you are seeing a consist situation where you have this 14 degree tilt to the right, you may be struggling with this. You may have an open club face with an out-to-in swing path which is causing the ball to go off to the right. Before we even begin, we may want to see where you are hitting the ball on the club. By putting some foot powder on your club face, you can see where you are hitting the club. If your path and face are both square to the target at impact and you hit the ball on the toe, your ball will hook. If you hit the ball on the heel of the club your ball will go off to the right.

So if you have seen a consistent trend of ball flight to the right and your club face is open, the first thing you may want to check is your grip. With the grip, make sure that the “V” between your thumb and forefinger on your left hand (for a right-handed golfer) is pointed at your back shoulder. The palm of your right hand should be perpendicular to the target.

If you’ve adjusted your grip so that you have a nice strong grip, and you are still seeing an open club face, the next thing you may want to work on is your swing path. First, with a very slow and short swing, you want to watch your club face to make sure that it remains square to the arc of your swing. As you take the backswing, check to make sure that club face is opening, squaring up through impact, and then closing on the follow through. This is much easier to do when you are slowing down the swing. Quiet down your hands and let the club swing. Once you start to see a spin axis that is consistently to the left, you can start to make a bigger and faster swing and see if you can maintain that leftward spin axis.

Practice this drill using the Skytrak to see if you can get your slice under control through the winter time and you will have more fun and see lower scores in 2021!

Check out the video here!

SKYTRAK SLICE FIX THUMBNAIL ROUNDED.png

To purchase the Skytrak or Net Return Click Here!